1st Tip: Wall thickness
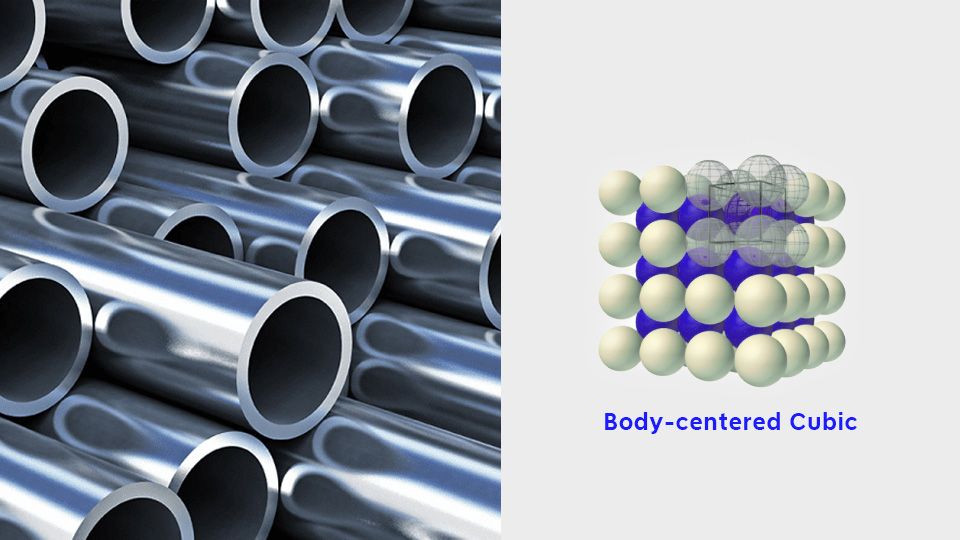
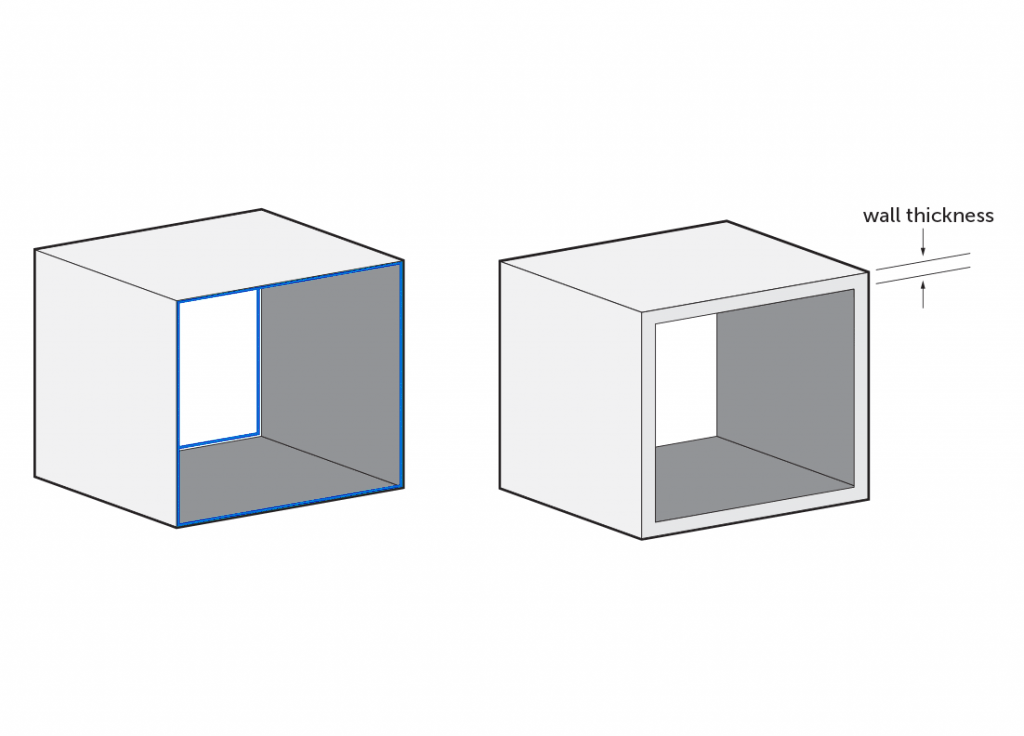
A common guideline advises slightly increasing the thickness of walls. Typically, a wall thickness exceeding 0.8 mm tends to support the successful printing of parts across various 3D printing methods.
2nd Tip: Bridges
Bridging refers to the 3D printer’s capability to print between two points without requiring support material. It’s advisable to add gaps or bridges less than 15mm in your design. When dealing with larger gaps exceeding 15mm, the lower part of the bridge may sag, necessitating support material. Reducing the gap size is the preferred solution, as support material use can potentially cause minor surface damage where it contacts the part.
3rd Tip: Overhangs
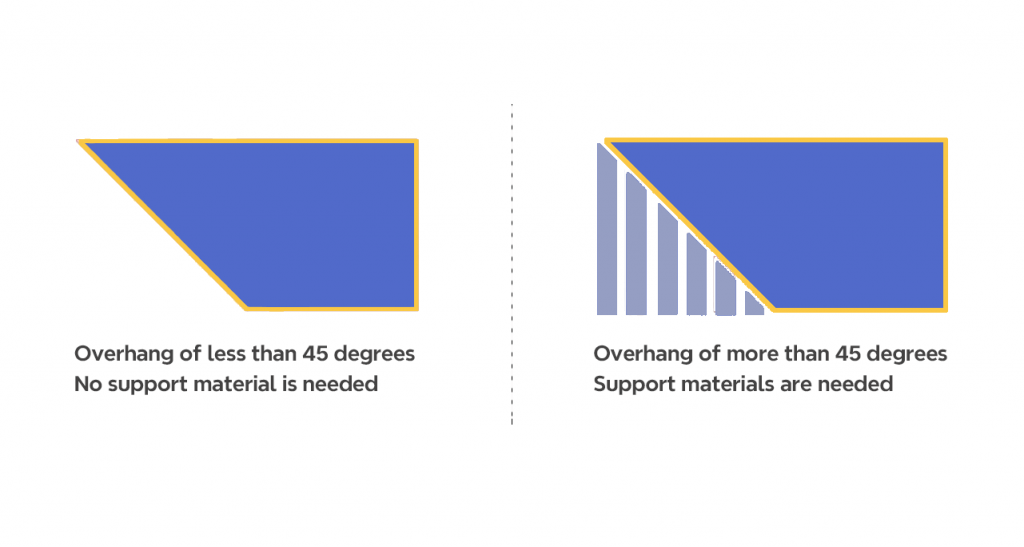
A fundamental principle in 3D printing design is following the 45-degree rule. According to this rule, overhangs up to 45 degrees typically do not require support. However, angles beyond 45 degrees may demand additional support to safeguard the integrity of the part. It’s worth noting that this 45-degree angle is quite close to the filament’s limits. Therefore, it’s advisable to maintain a gentler incline at around 30 degrees for improved print quality and reliability.
4th Tip: Vertical holes
Experienced users of FDM 3D printing often encounter a prevalent challenge: undersized vertical holes. This issue arises due to the manufacturing process where the extruded plastic gets compressed against the previous layer, causing the holes to shrink on the XY plane, resulting in smaller dimensions than intended.
The extent of vertical hole size variations can be influenced by factors such as the type of 3D printer, the chosen material, and specific print settings. To address this challenge, the most effective approach is to conduct test prints to quantify the degree of undersizing. Subsequently, you can adjust your design by adding a compensatory margin, such as 0.2mm, to achieve the desired hole size. For instance, for a 2mm hole, adding the 0.2mm margin can help ensure the hole’s accuracy in the final print.
5th Tip: Avoid shrinkage and warping
Excessive heat during 3D printing can lead to warping, but there are design strategies to address this concern. One common approach is to opt for rounded edges instead of sharp corners, which effectively dissipates heat and safeguards the model from self-warping during the printing process. Another effective design tip is to incorporate “mouse ears” – small discs strategically placed at the corners of the initial model layer. This addition enhances the contact surface between the print bed and the model’s corners, significantly reducing the risk of warping.
6th Tip: Model Orient
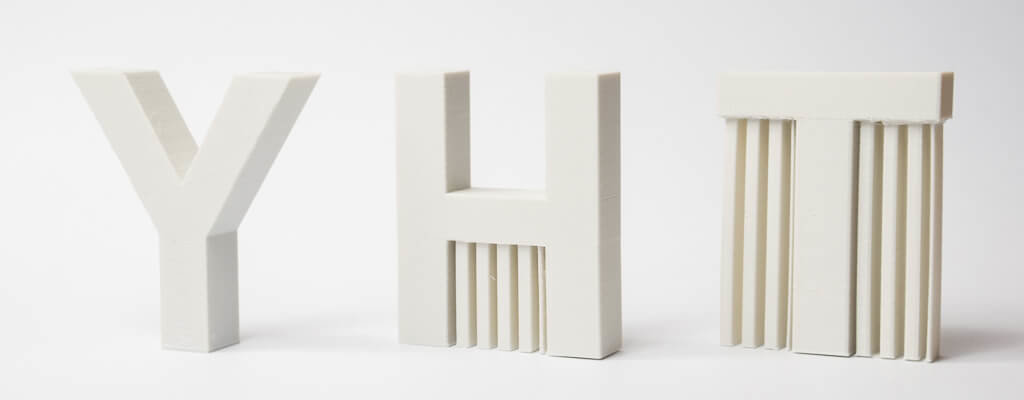
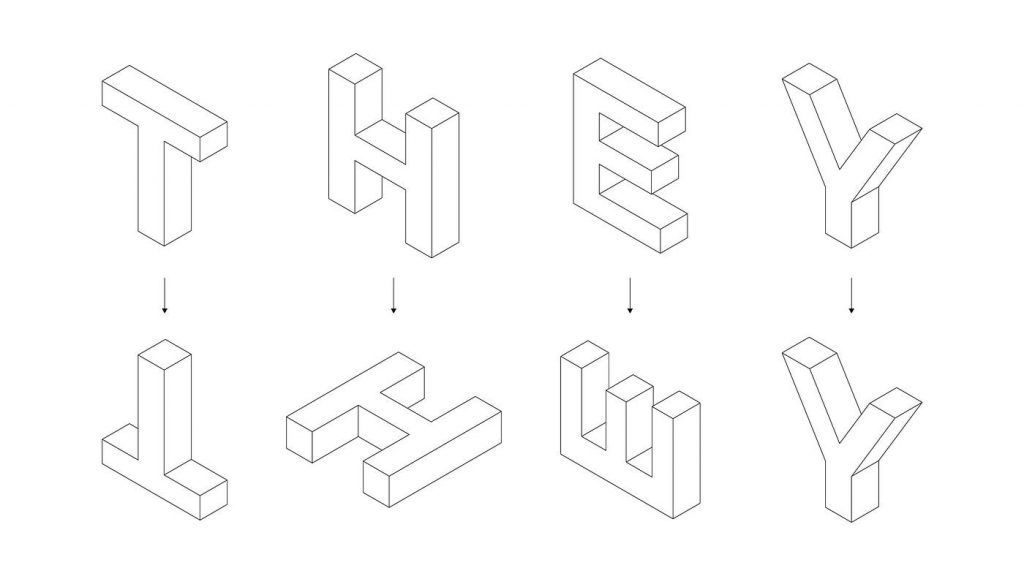
In many instances, the orientation for 3D printing doesn’t align with the part’s eventual use position. Simply rotating your design to an optimal printing orientation can often reduce or even eliminate the need for support structures. For instance, consider the case of the ‘T’ print – by placing it flat on its back, the necessity for support is entirely mitigated. The primary objective when orienting a part is to minimize overhangs, bridges, or any elements that might compromise print quality or overall success.
7th Tip: Anchor To Avoid Supports
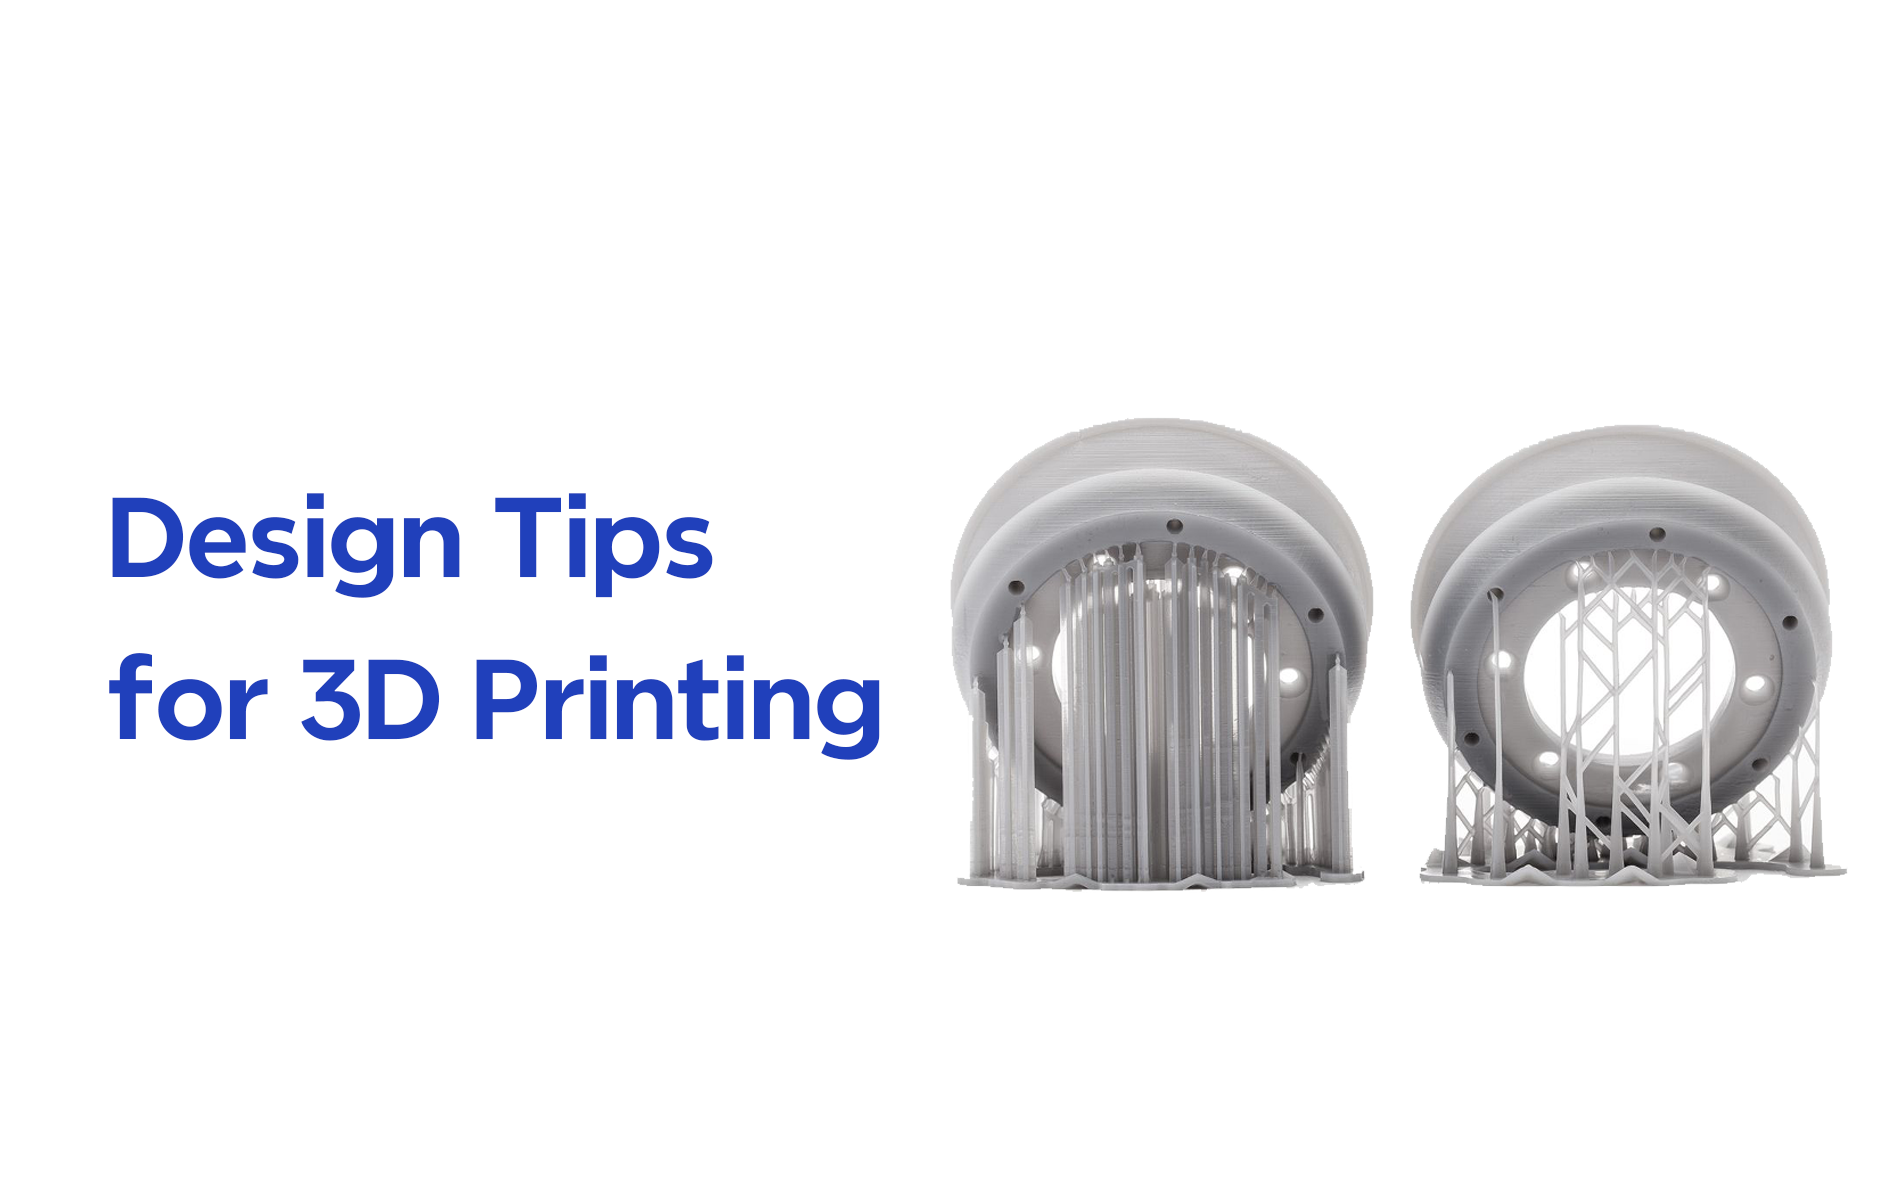
An important 3D printer design principle is to minimize the reliance on support structures. Supports are employed when printing overhanging elements, but they consume a significant amount of filament in the process.
To address this, users have devised creative solutions for supporting their models. One effective method involves integrating anchors into the design. These anchors can be discreetly hidden or incorporated as additional design features, effectively eliminating the need for conventional supports while preserving the overall design integrity.
8th Tip: Text size
Incorporating text into a 3D model can present challenges since not all fonts and sizes guarantee readability. The mechanical capabilities of a 3D printer also come into play, especially with smaller text that can push the limits of print resolution. Here are some helpful guidelines when adding text to your 3D model:
Opt for sans-serif fonts like Arial, Montserrat, or Helvetica, as their strokes maintain a consistent thickness.
Adjust the text size to ensure all strokes have a minimum thickness of 0.8mm, aligning with the minimum wall thickness.
Consider embossing or engraving the text into the model, with the recommended depth being 0.4mm or equivalent to the printer nozzle diameter, enhancing the text’s legibility in the final 3D print.
Summary
The above introduces essential design tips for 3D printing. It covers key considerations, such as wall thickness, bridging, and overhangs, addressing undersized vertical holes, preventing warping, optimizing model orientation, minimizing support structures with anchors, and ensuring readable text. These tips collectively enhance the quality and success of 3D prints while reducing material waste, providing a comprehensive guide for both novice and experienced 3D printing enthusiasts.
